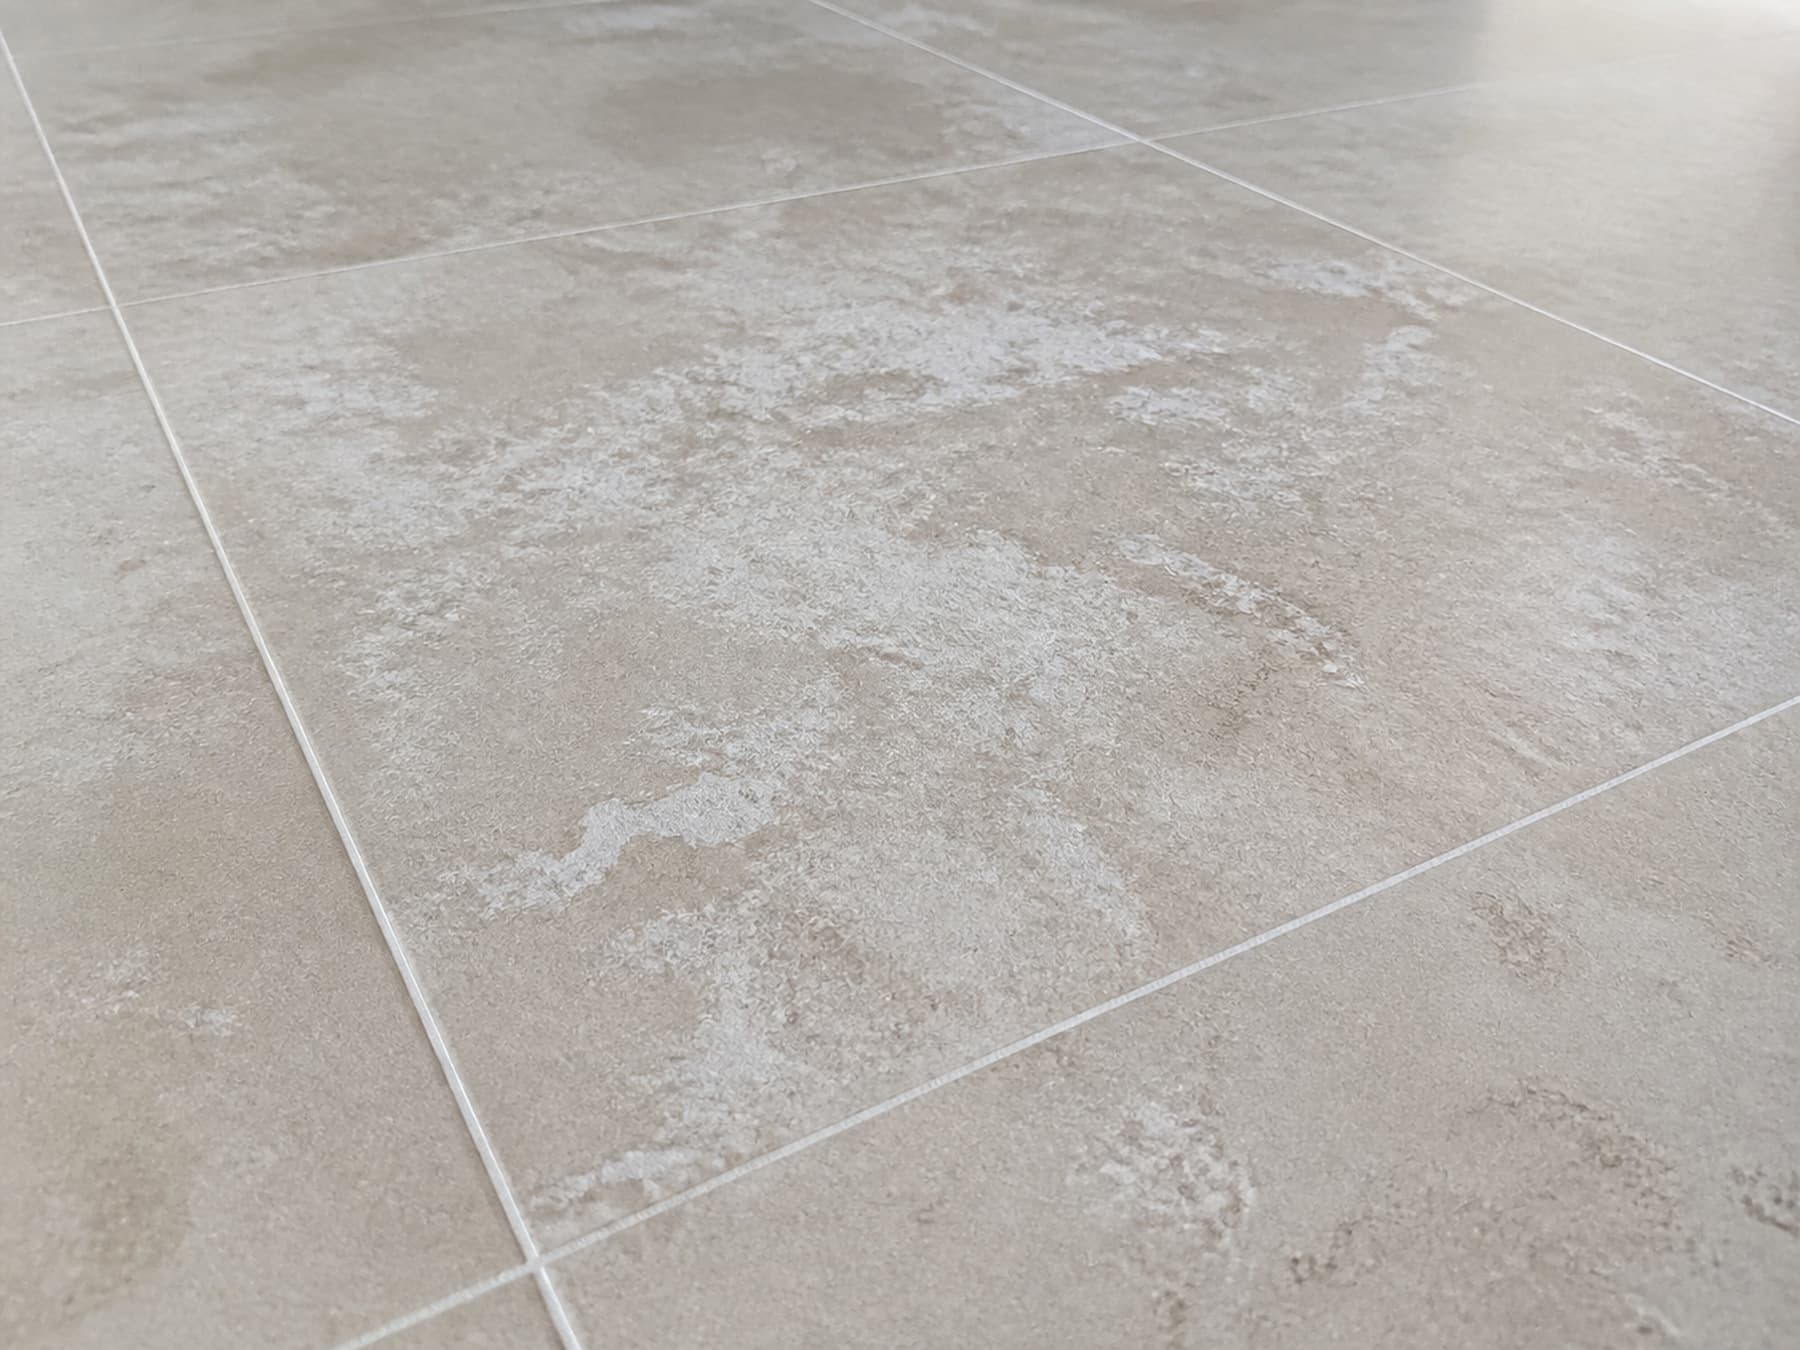
Your renovation just finished, the tiles are down, and there's this grayish film sitting on top of them that won't come off no matter how many times you mop. Congratulations — you've met cement haze, the contractor's parting gift that nobody mentions until it's your problem.
Quick answer: removing cement stains from a tile floor depends on whether the residue is fresh or has already cured. Cement that's still soft or was recently deposited usually comes off with warm water and a soft brush. Once it's cured into a hardened haze, the safer approach is a product made specifically for cement or grout-haze removal, matched to your tile type and used exactly as the label says — not an improvised acid mix. Marble and other natural stone are a separate story entirely, and we'll get to why.
01What Actually Happened to Your Tile?
Before you reach for anything, figure out what you're actually looking at. Several different things get lumped together as "cement stains," and they don't always respond to the same treatment:
Fresh cement or mortar residue — still damp or slightly soft, recently deposited.
Cured cement or grout haze — a thin, dry, filmy residue that's bonded to the tile surface. This is what most people mean when they say "cement stain."
Mineral deposits from water — white or cloudy marks, usually near taps, showerheads, or anywhere water dries repeatedly. Not cement at all.
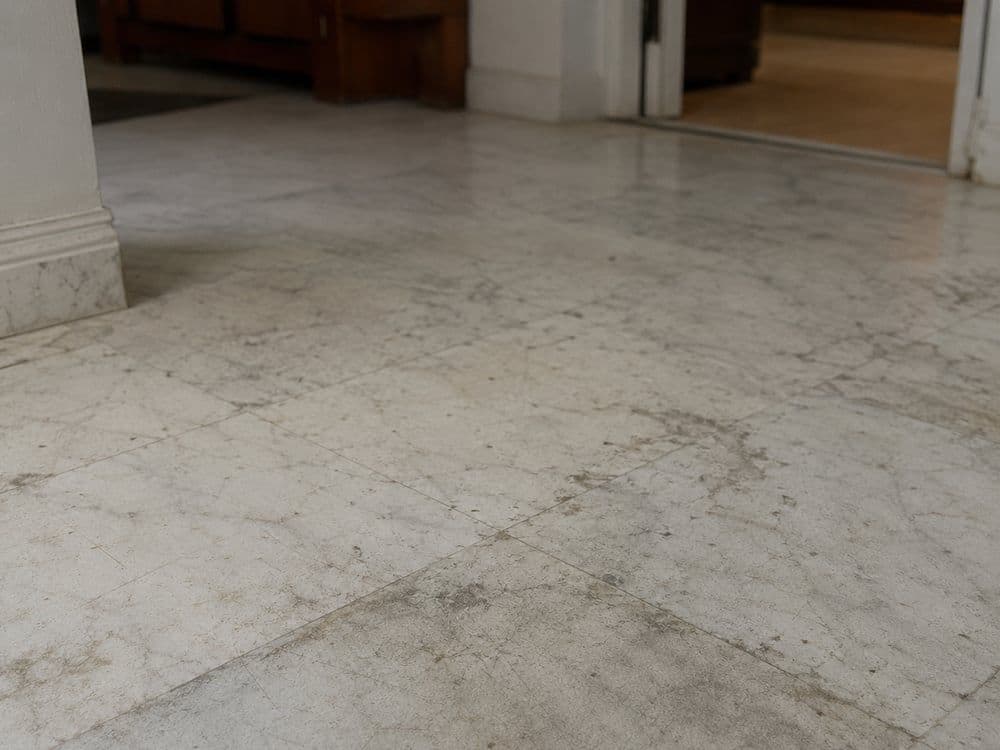
Acid etching on natural stone — dull, cloudy patches, caused by something acidic touching the surface. This is chemical damage, not a stain, and no amount of scrubbing brings it back.
They can look surprisingly similar, especially early on. If you're not sure what you have, don't guess with a strong cleaner — start with the gentlest option, or send us a photo first. Getting this right matters, because the "fix" for one can make another worse. Use an acidic product on etched marble and you're not cleaning anything — you're adding a second injury on top of the first.
02Fresh or Still-Soft Cement: Don't Overthink It
Residue still soft or recently deposited? This is the easy version — though exactly how long that window lasts depends on the product, thickness and conditions, not a fixed cutoff.
Wet the area with warm water.
Scrub gently with a soft nylon brush or white non-scratch pad — avoid metal scrapers, steel wool or anything abrasive, which can scratch polished, glazed or decorative surfaces.
Mix a small amount of pH-neutral floor cleaner into the water and go over it again.
Rinse with clean water and dry.
Often, that's the whole job. Catch it early and you save yourself the next section.
03Hardened Cement Haze: The One Everyone Googles
Wait too long and the residue cures into a bonded film. Exactly how long that takes depends on the product, temperature and moisture — it isn't something we can put a single number on. If your contractor finished tiling days or weeks ago and you're only getting to it now, treat it as hardened haze rather than fresh cement.
Start with a cement or grout-haze remover made for your tile.
Look for a product labelled specifically for cement or grout-haze removal, and check the label confirms it's suitable for your tile type. Ceramic, porcelain and natural stone often need different products, and not every cement remover is pH-neutral — some are acid-based and can damage the wrong surface.
Test the product on a small, hidden area. Follow the label's mixing, waiting and rinsing instructions, then let the area dry before checking for discoloration, dullness or damage.
If the test area looks fine, apply the product to the affected area as directed.
Scrub only with a tool approved for the surface, then rinse thoroughly.
Diluted vinegar may help on some acid-resistant ceramic or porcelain surfaces, but it can affect grout, sealers and metal fittings. Check the tile manufacturer's guidance and test a hidden area first. Never use it on marble or other natural stone, or on cement-based terrazzo — more on why below. And never combine vinegar or any acidic product with bleach or other cleaners; the combination can produce dangerous fumes.
04Wait — Is It Mineral Deposits, Not Cement?
This is the mix-up that trips up more homeowners than the haze itself. Marks concentrated around taps, showerheads, or the base of a sink — especially ones that built up slowly over months rather than appearing right after renovation — usually point to something else entirely: mineral deposits from water, not cement. Water hardness varies by area and supply, but the pattern is the same wherever it happens: barely noticeable day to day, obvious the moment you actually look.
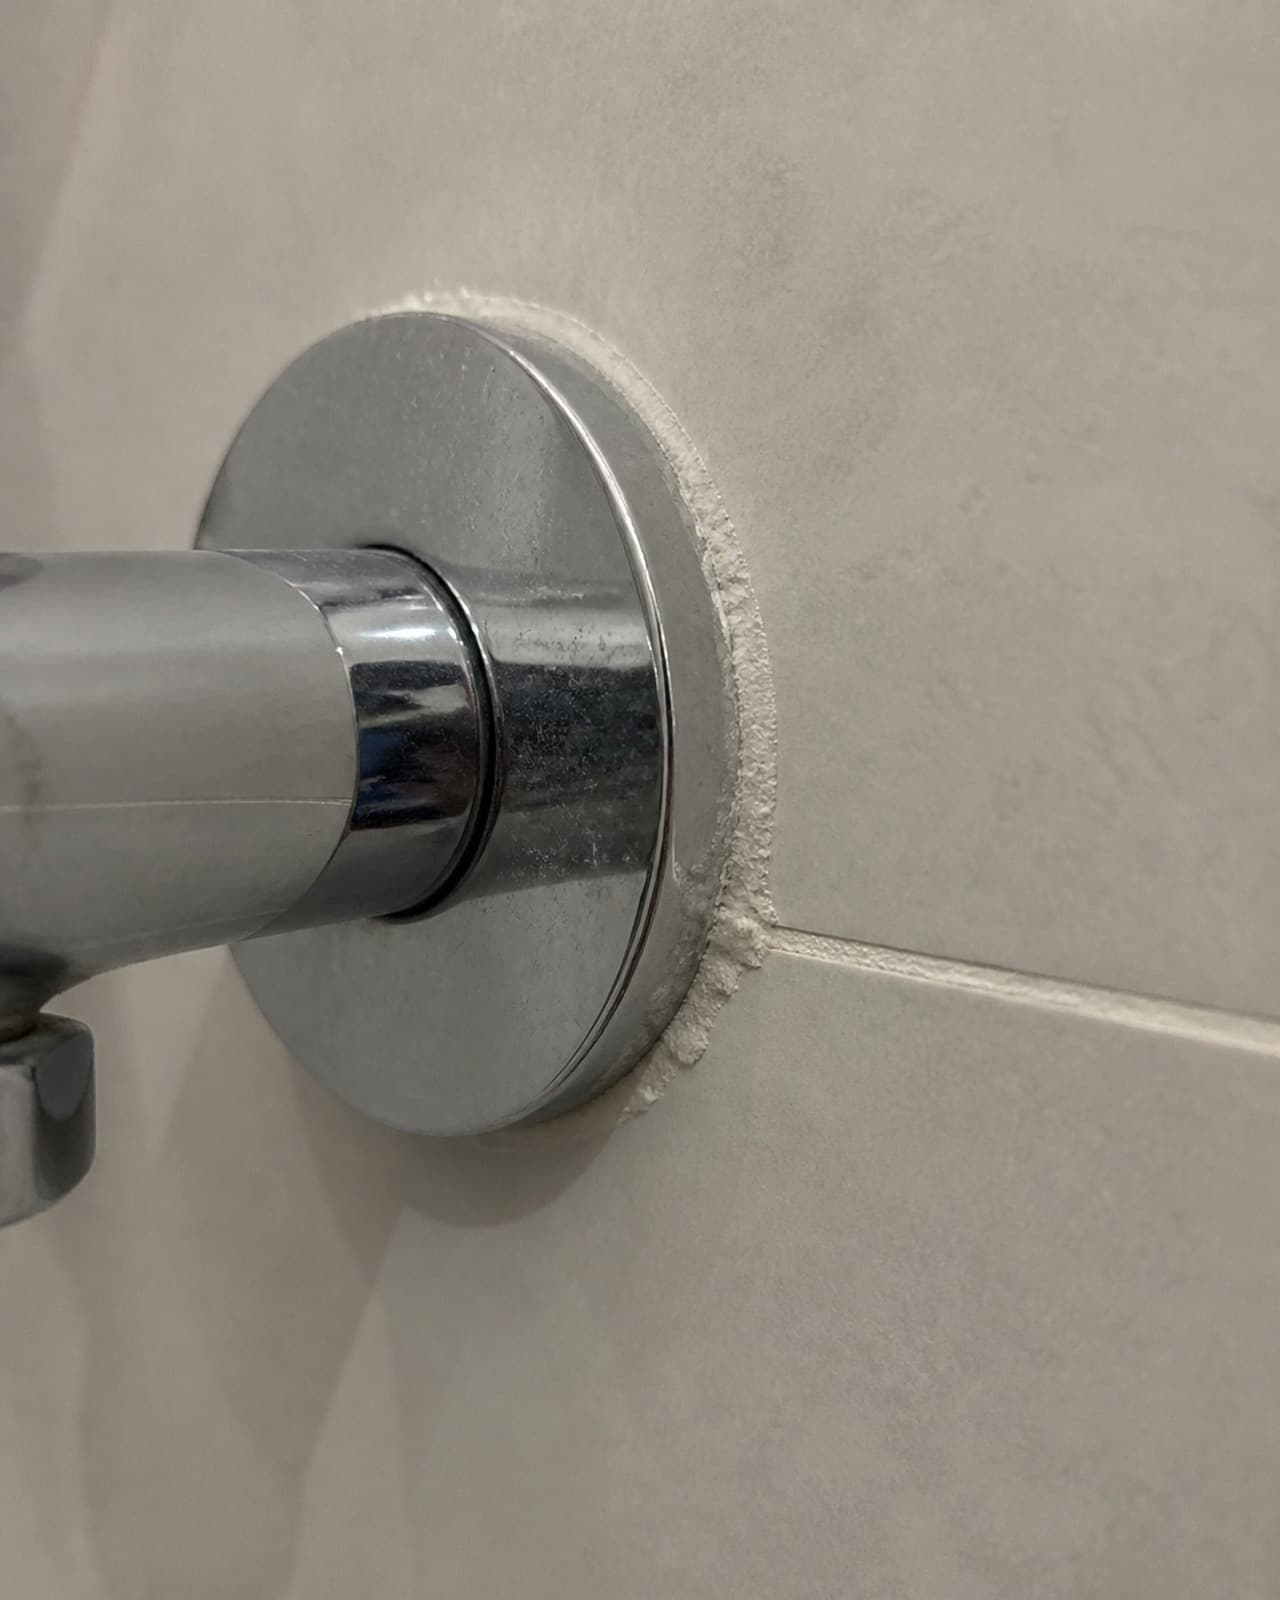
Grout is porous, so moisture can enter the surface and leave minerals behind as it dries — which is why the buildup often looks worse right along the grout line. The same caution about vinegar applies here: use it only if the tile, grout and surrounding fittings can safely tolerate acid. Thick, long-neglected buildup may need repeated treatment with a compatible mineral-deposit remover — follow the product label, and stop if the surface begins to change.
05Marble, Limestone and Other Acid-Sensitive Stone
Every article on this topic drops a one-line warning — "don't use acid on marble" — and moves on without explaining why, or which other surfaces it applies to. That's worth doing properly, because the reason changes how you should think about the whole problem.
Marble, limestone and travertine contain calcium carbonate and are sensitive to acid. Cement-based terrazzo can also be damaged by acidic cleaners, so treat it as acid-sensitive unless its manufacturer says otherwise. Acid, including the mild acetic acid in ordinary vinegar, reacts with these surfaces chemically, dissolving a microscopic layer and leaving what's called etching: a cloudy, dull patch where the shine used to be.
It isn't dirt sitting on top of the stone that you can scrub off. It's a change to the surface itself, and scrubbing harder doesn't reverse it — if anything, it just wastes effort on a problem that needs a different kind of fix.
The Natural Stone Institute advises against acidic cleaners on natural stone for this exact reason. For marble and similar stone:
Use warm water with a pH-neutral cleaner made specifically for natural stone — not dish soap, not a generic tile cleaner, and not a standard cement remover.
Scrub with a soft cloth or sponge, never a stiff brush.
Still not coming off? Stop there and check with your stone supplier or a stone-restoration specialist before trying anything stronger — the right product depends on the specific stone and finish.
Dry it immediately. Standing water isn't good for natural stone either.
If the surface is already etched rather than just marked, cleaning won't bring it back — that needs polishing or restoration work, not a stronger product.
06Tile Type, Side by Side
Quick reference before you reach for anything:
Glazed ceramic — it may tolerate diluted vinegar, but check the tile and grout guidance first. For hardened haze, a compatible purpose-made remover is the more controlled option.
Unglazed or porous tile — test first, since it can absorb liquid and stain. Check the tile manufacturer's guidance and choose a cement remover explicitly approved for porous or unglazed tile.
Polished porcelain — similar to glazed ceramic; test a hidden spot if unsure.
Marble, limestone, travertine and cement-based terrazzo — no vinegar, no acid, full stop. Use a pH-neutral stone cleaner, and check with a stone specialist for stubborn residue.
Grout deserves its own mention too. Because it's porous, residue and discoloration can become harder to remove the longer they're left sitting on the surface.
07Why Muriatic Acid Isn't a DIY Recommendation
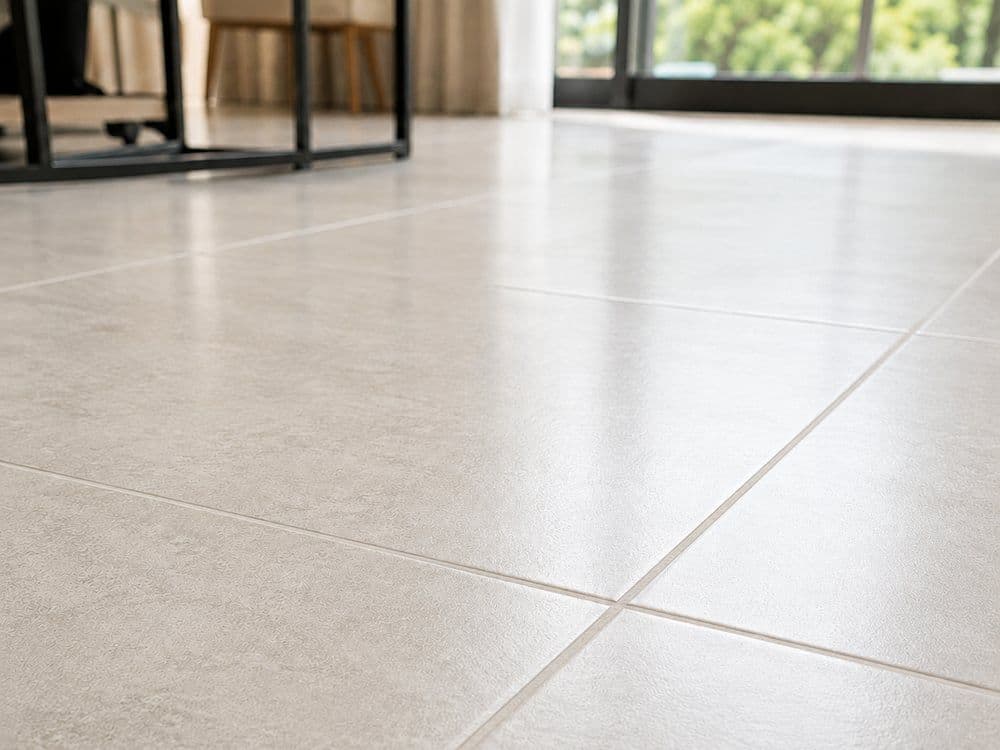
You'll see muriatic acid (hydrochloric acid) suggested as a "last resort" in a lot of cement-stain guides, usually with little real safety detail attached. We don't recommend it as a household DIY method. It's a hazardous, industrial-strength chemical — NIOSH lists it as an irritant to the nose, throat and lungs, and it can burn eyes and skin on contact. Its fumes can irritate or injure the eyes and respiratory system, especially in an enclosed or poorly ventilated space, and it can also damage grout, metal fittings and finishes nearby. Combining any acid with bleach or another cleaner is especially dangerous and can produce toxic fumes, so this isn't something to improvise with.
If a purpose-made cement or grout-haze remover hasn't worked, that's the signal to call in a professional rather than reach for something this aggressive at home.
08When DIY Stops Being Worth It
The methods above work for most fresh residue, average haze, and everyday grout marks. But there's a point where doing it yourself costs more time than it saves:
Haze that's been there for months, not weeks
An entire floor affected, not just a few tiles
Natural stone that's already etched, not just marked
A cement floor (garage, store room) that was never sealed and keeps staining no matter how often you clean it
If the whole floor's affected, it's probably more than a normal clean can fix. Depending on what's actually wrong — dirt embedded in the surface, faded shine, or both — Yellowbee's Floor Cleaning service can scrub, polish or reseal it, with the options and prices already listed on the page.
Cement haze is often just one part of a longer post-renovation cleanup. If dust and residue are also sitting on the windows, cabinets and other surfaces, see what's included in Yellowbee's Post-Renovation Cleaning service or use our post-renovation checklist to check the house room by room.
If you're not sure what you're looking at, or the methods above haven't worked, send us a clear photo and we'll take an initial look — though a photo can't always tell us everything, so some floors need an in-person visit to confirm the right fix.